The barrels have been cleaned of honing dust with petrol as recommended by Grampian, with a surprising amount of dirt coming off them.
They're dropped off at Steve's now with the side covers and top end for spraying.
Dan's not another blue 1VJ
-
cadno
- Almost there

- Posts: 775
- Joined: Fri May 06, 2016 9:38 am
- What Bike or Bikes Do You Own?: lot's of Yamahas, quite a few Montesas, two BMWs a KTM and a GPZ1100
- Previously Owned Bikes: Far too many to list
- Location: Bangor UK
Re: Dan's not another blue 1VJ
Started the morning completing the airbox story.
Drilled and got the inserts, inserted.
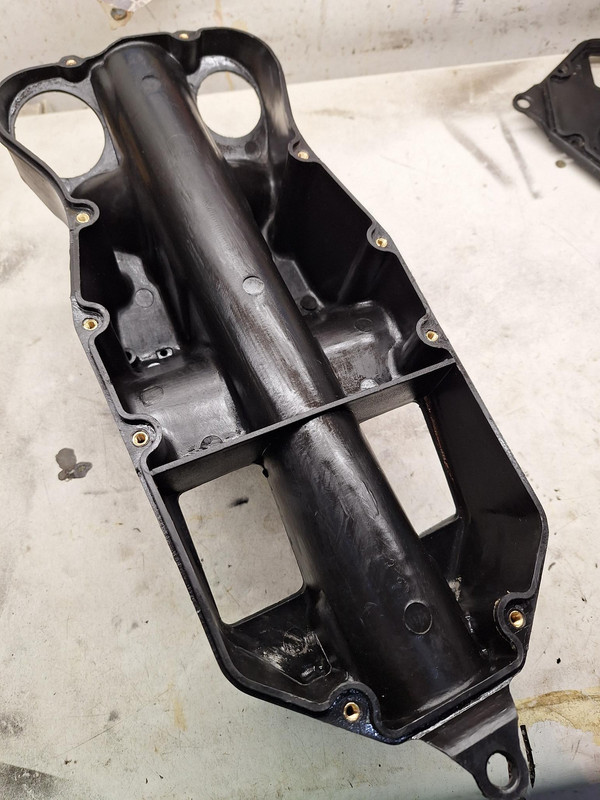
Worked really well.
Thoroughly cleaned the rest of the airbox and got the back to black on it.
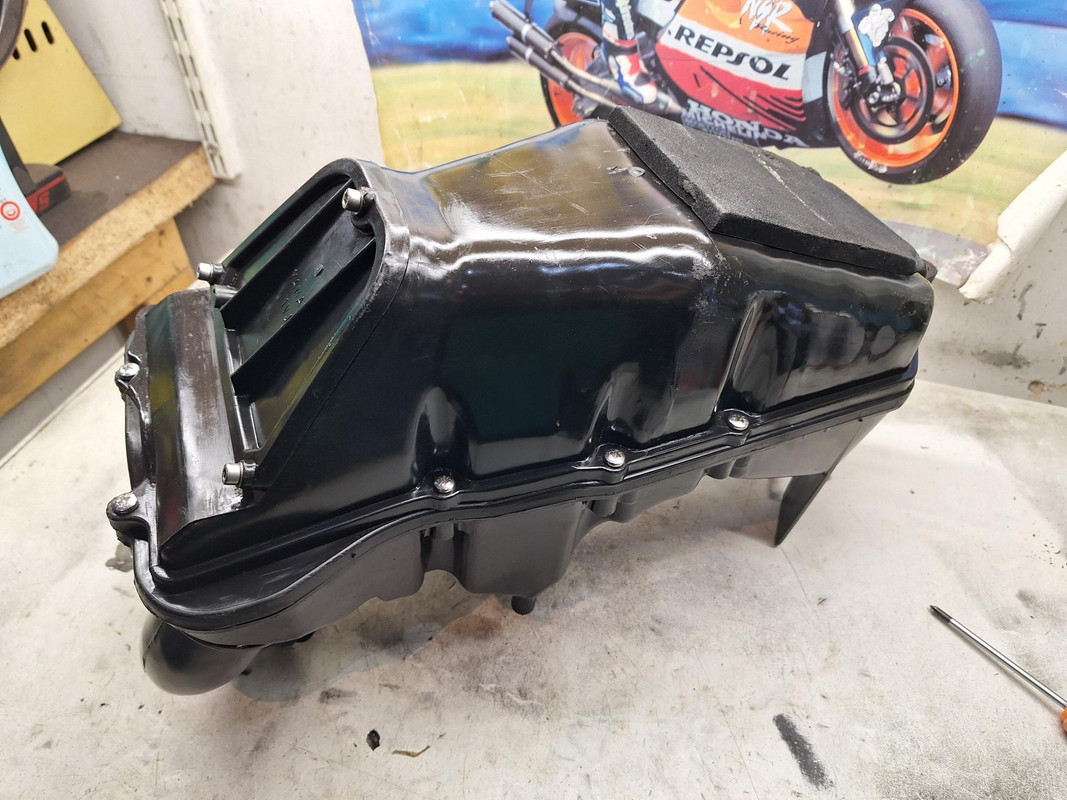
New spacer and stainless flanged bolt.
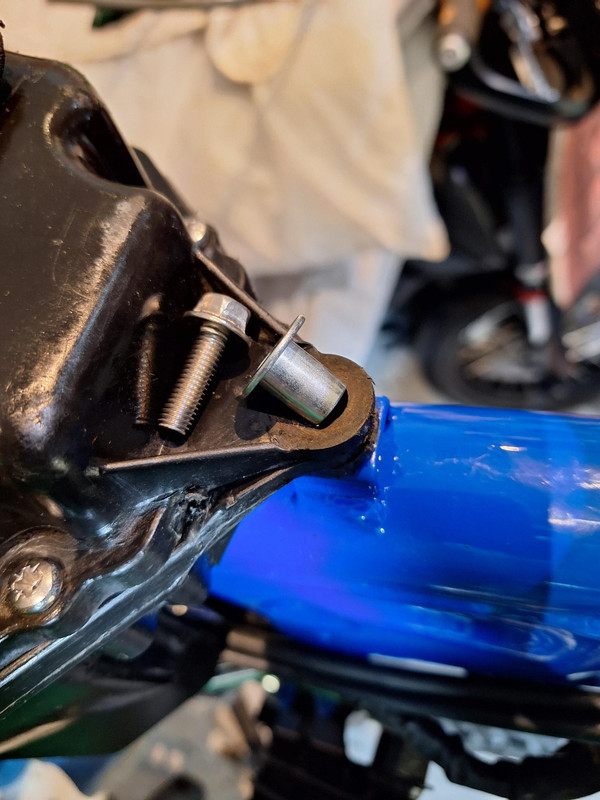
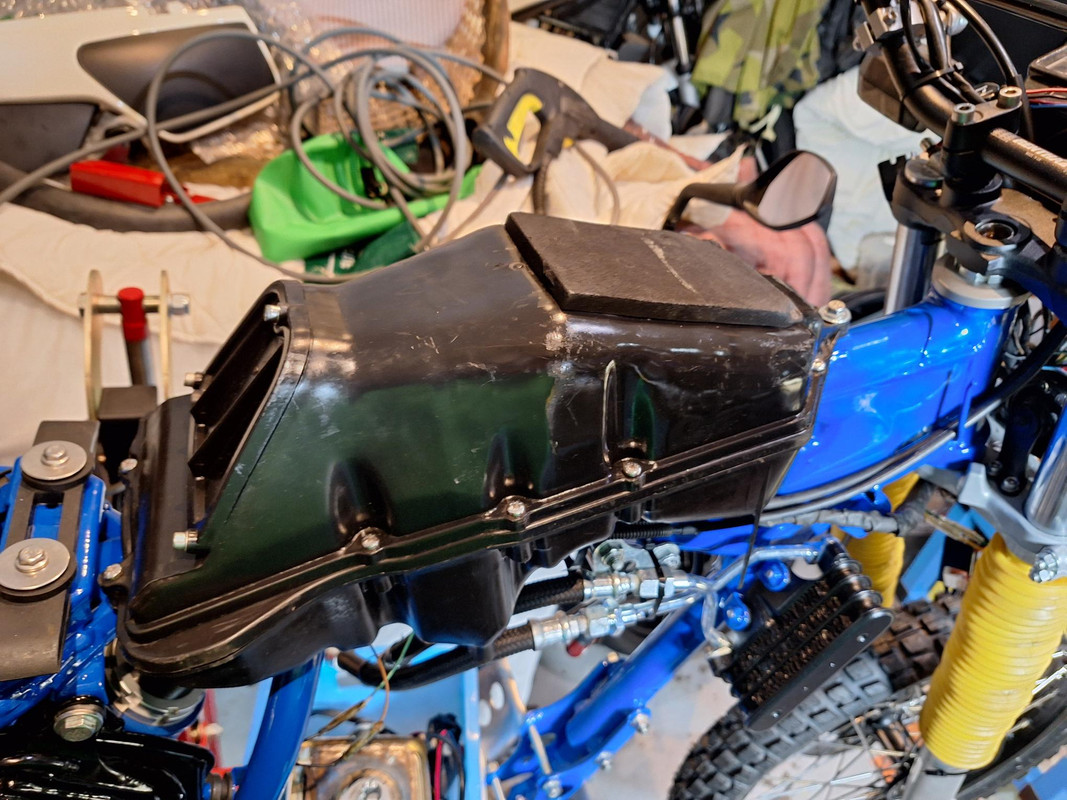
Looking the part back on the bike, it's easy to go to town on a bike and not spend the time on this type of stuff which really detracts from the finished bike.
Drilled and got the inserts, inserted.
Worked really well.
Thoroughly cleaned the rest of the airbox and got the back to black on it.
New spacer and stainless flanged bolt.
Looking the part back on the bike, it's easy to go to town on a bike and not spend the time on this type of stuff which really detracts from the finished bike.
-
cadno
- Almost there
- Posts: 775
- Joined: Fri May 06, 2016 9:38 am
- What Bike or Bikes Do You Own?: lot's of Yamahas, quite a few Montesas, two BMWs a KTM and a GPZ1100
- Previously Owned Bikes: Far too many to list
- Location: Bangor UK
Re: Dan's not another blue 1VJ
And buoyed by that simple job I started on the oil tank.
It's absolutely vital to clean the inside of the tank on a rebuild and even more so if it's been powder coated. I'd cleaned it before I took to the powder coaters....
Mine was awful, I must have flushed it out with petrol six times before I was happy with it.
I then put some light fork in, flushed it around and out and then flushed again with petrol.
It was that bad I took the oil tank off the white 1VJ resto mod and did the same to that, although it was no where near as dirty.
Brand new rubbers, three new O rings for the lower oil pipe mount, replated bolts and special washers, and that's another job completed.
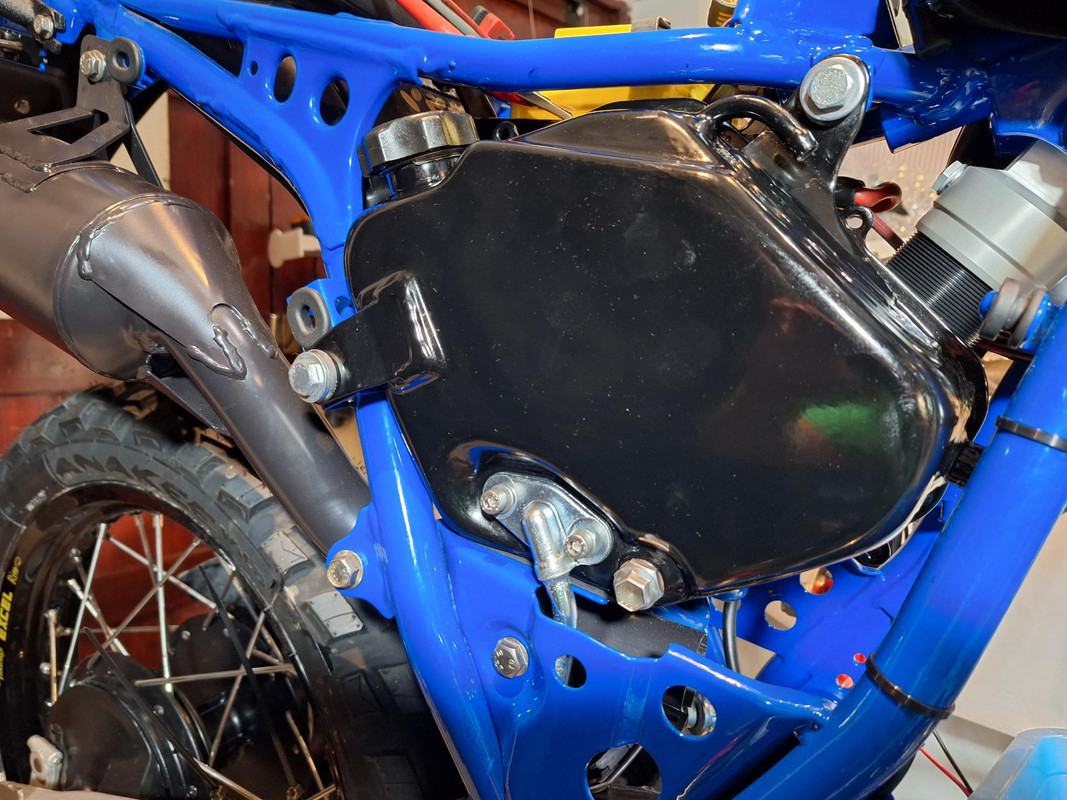
As you can see I'd already had the flexi oil lines replated, it really makes the difference on a full build. I'd love to have fitted the billet oil caps I have on my other 1VJs but the guys stopped making them. An original fit caution decal on the oil tank would be nice as well
It's absolutely vital to clean the inside of the tank on a rebuild and even more so if it's been powder coated. I'd cleaned it before I took to the powder coaters....
Mine was awful, I must have flushed it out with petrol six times before I was happy with it.
I then put some light fork in, flushed it around and out and then flushed again with petrol.
It was that bad I took the oil tank off the white 1VJ resto mod and did the same to that, although it was no where near as dirty.
Brand new rubbers, three new O rings for the lower oil pipe mount, replated bolts and special washers, and that's another job completed.
As you can see I'd already had the flexi oil lines replated, it really makes the difference on a full build. I'd love to have fitted the billet oil caps I have on my other 1VJs but the guys stopped making them. An original fit caution decal on the oil tank would be nice as well
-
cadno
- Almost there
- Posts: 775
- Joined: Fri May 06, 2016 9:38 am
- What Bike or Bikes Do You Own?: lot's of Yamahas, quite a few Montesas, two BMWs a KTM and a GPZ1100
- Previously Owned Bikes: Far too many to list
- Location: Bangor UK
Re: Dan's not another blue 1VJ
So then it was on to finishing off dismantling the engine.
I won't bore you with the details but it was the normal struggle of stuck or rounded fasteners, excessive use of instant gasket and loctite, but nothing that patience, heat and torx hammered into rounded allen headed bolts didn't sort...eventually.
The flywheel came off with a good bang but relatively easily, and the stator still hasn't released it's grip on the left side engine cover.
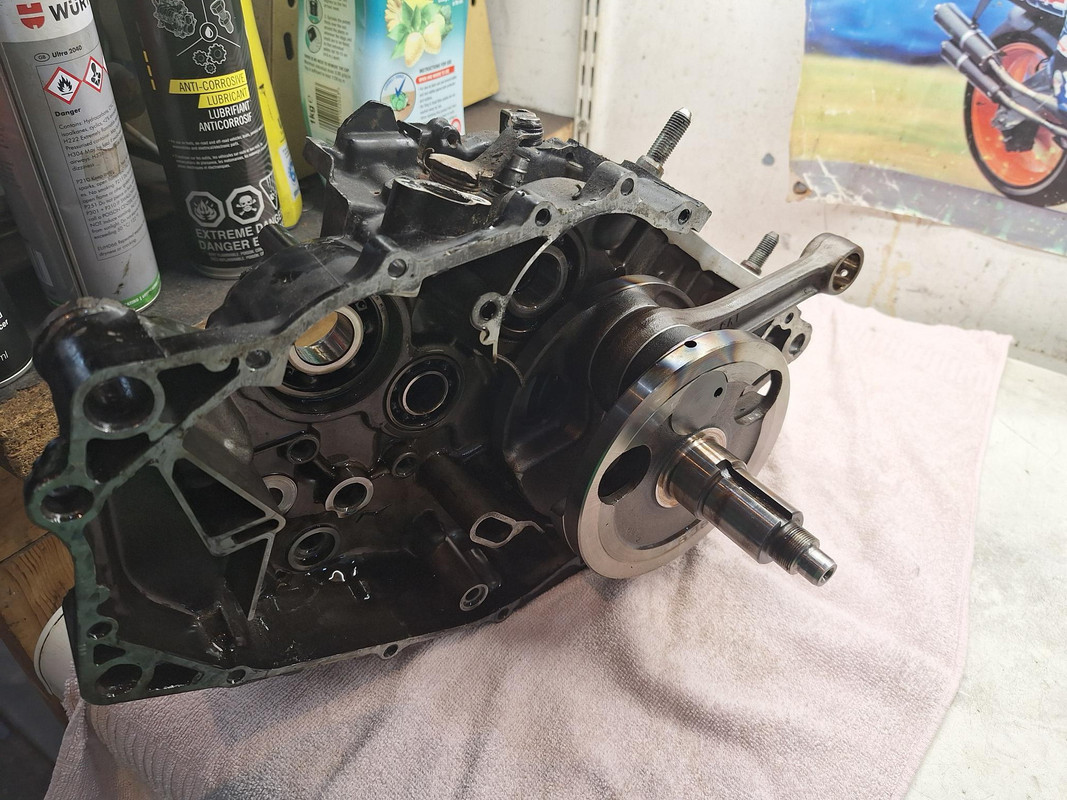
Split cases:
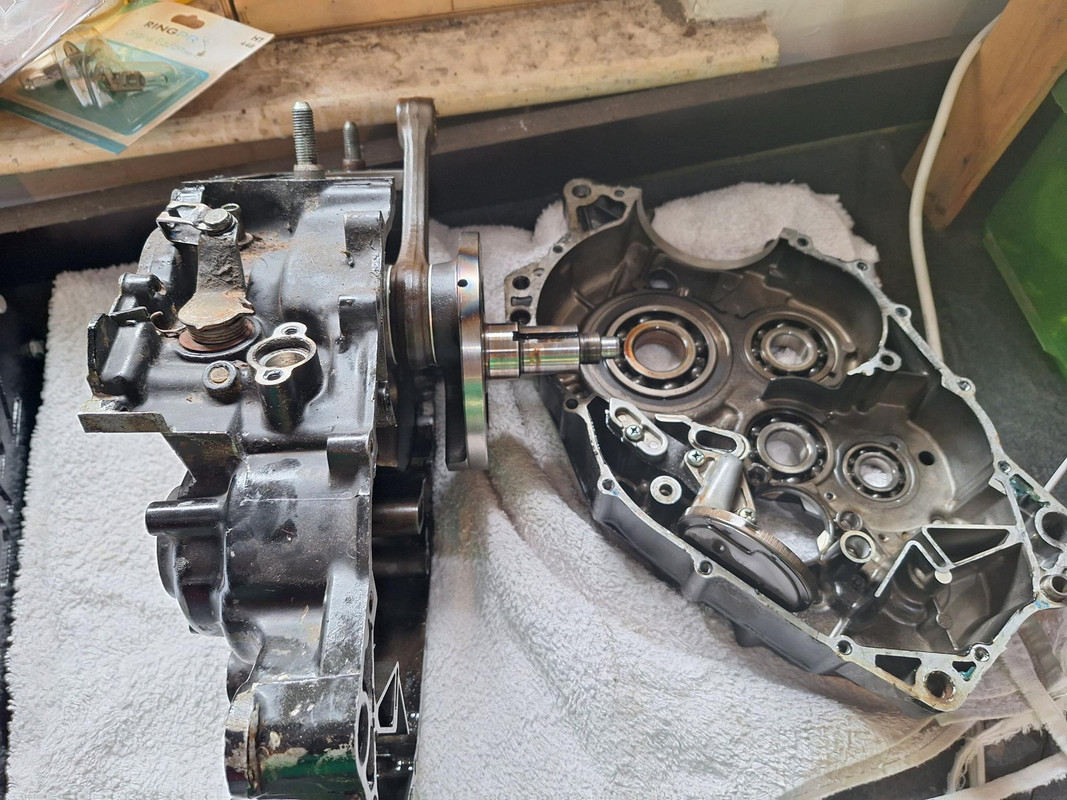
Left case:
Surprise surprise, fifth gear is goosed:
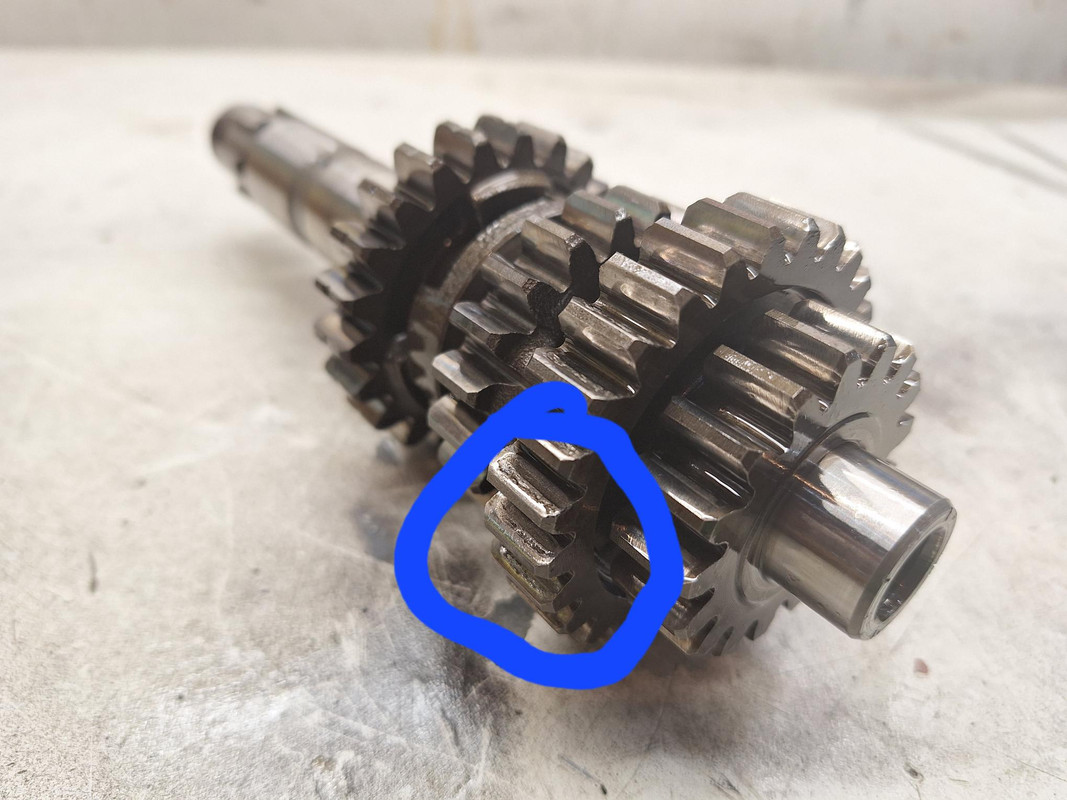
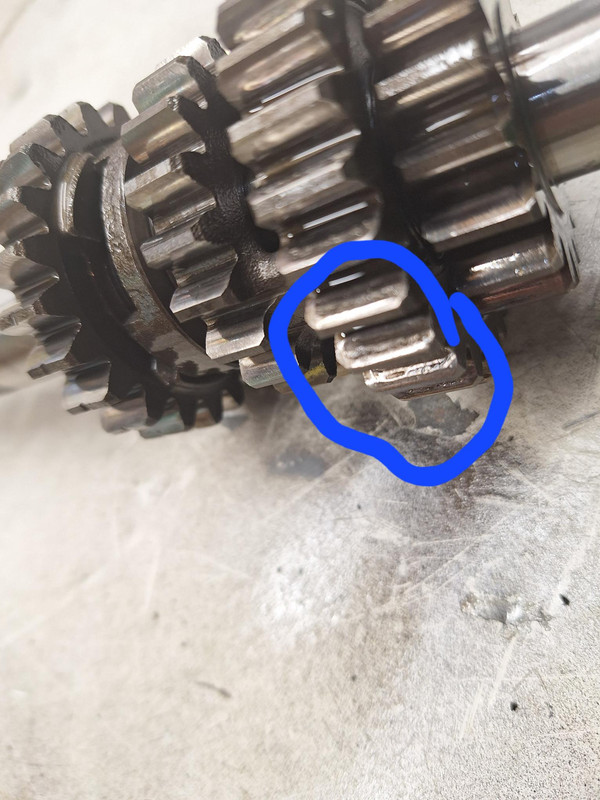
I'll have to change to the later type gear clusters as these 1VJ style ones are showing as unavailable now.
The crank doesn't feel as good as I'd like, so when I've removed it from the cases I'll measure up and decide what needs doing
I won't bore you with the details but it was the normal struggle of stuck or rounded fasteners, excessive use of instant gasket and loctite, but nothing that patience, heat and torx hammered into rounded allen headed bolts didn't sort...eventually.
The flywheel came off with a good bang but relatively easily, and the stator still hasn't released it's grip on the left side engine cover.
Split cases:
Left case:
Surprise surprise, fifth gear is goosed:
I'll have to change to the later type gear clusters as these 1VJ style ones are showing as unavailable now.
The crank doesn't feel as good as I'd like, so when I've removed it from the cases I'll measure up and decide what needs doing
-
cadno
- Almost there
- Posts: 775
- Joined: Fri May 06, 2016 9:38 am
- What Bike or Bikes Do You Own?: lot's of Yamahas, quite a few Montesas, two BMWs a KTM and a GPZ1100
- Previously Owned Bikes: Far too many to list
- Location: Bangor UK
Re: Dan's not another blue 1VJ
Next step will be getting cases clear of bearings including the awkward blind bearings, on clutch actuator, and the other on the end of the gear cluster in the left hand case.
Send them for vapour, get painted and we're back to getting it built back up. Simple to say
Send them for vapour, get painted and we're back to getting it built back up. Simple to say
-
cadno
- Almost there
- Posts: 775
- Joined: Fri May 06, 2016 9:38 am
- What Bike or Bikes Do You Own?: lot's of Yamahas, quite a few Montesas, two BMWs a KTM and a GPZ1100
- Previously Owned Bikes: Far too many to list
- Location: Bangor UK
Re: Dan's not another blue 1VJ
Today was an electrics day.
Sorted the four wire right hand switch cluster into a three wire loom conundrum.
Improved the routing of the rats nest of wiring behind the headlight.
Worked out which relay should go in which holder, and thoroughly checked continuity and voltages through the loom.
All good, I'll improve one or two areas on the loom where it looks a bit aged and get some photos posted at a later date.
The left hand case has all the bearings removed before I strip the paint and drop off at vapour blasting.
Before that happens I need to check if the gearbox from a 3TB motor I've ordered fits in the older cases.
Sorted the four wire right hand switch cluster into a three wire loom conundrum.
Improved the routing of the rats nest of wiring behind the headlight.
Worked out which relay should go in which holder, and thoroughly checked continuity and voltages through the loom.
All good, I'll improve one or two areas on the loom where it looks a bit aged and get some photos posted at a later date.
The left hand case has all the bearings removed before I strip the paint and drop off at vapour blasting.
Before that happens I need to check if the gearbox from a 3TB motor I've ordered fits in the older cases.
-
jibber
- Dashingly Handsome

- Posts: 1666
- Joined: Sat Jun 23, 2012 6:29 pm
- What Bike or Bikes Do You Own?: 2 1vj's, 2 3aj's none complete and a mountain of parts
- Previously Owned Bikes: Quite a few
- Location: Gloucester. UK
Re: Dan's not another blue 1VJ
How do you get that lower roller bearing out for the clutch arm?
It looks like you do a really thorough job, what inserts did you use for the airbox?
It looks like you do a really thorough job, what inserts did you use for the airbox?
-
cadno
- Almost there
- Posts: 775
- Joined: Fri May 06, 2016 9:38 am
- What Bike or Bikes Do You Own?: lot's of Yamahas, quite a few Montesas, two BMWs a KTM and a GPZ1100
- Previously Owned Bikes: Far too many to list
- Location: Bangor UK
Re: Dan's not another blue 1VJ
The screw in brass inserts were bought off ebay:
https://www.ebay.co.uk/itm/294550907056 ... 3075345141
Very similar to a thread insert. I think you have to drill to 6.5mm and a set depth obviously. I made a small tool to screw them in to a set depth so they all looked the same.
https://www.ebay.co.uk/itm/294550907056 ... 3075345141
Very similar to a thread insert. I think you have to drill to 6.5mm and a set depth obviously. I made a small tool to screw them in to a set depth so they all looked the same.
-
cadno
- Almost there
- Posts: 775
- Joined: Fri May 06, 2016 9:38 am
- What Bike or Bikes Do You Own?: lot's of Yamahas, quite a few Montesas, two BMWs a KTM and a GPZ1100
- Previously Owned Bikes: Far too many to list
- Location: Bangor UK
Re: Dan's not another blue 1VJ
Getting any blind bearing out can be challenging.
Heat is always your friend as the alloy engine cases will heat up faster than the steel bearings.
But you need a blind bearing puller. Basically a slide hammer with a special attachment to get behind the bearing. You can also use this tool on bushes, like the swing arm.
Something like this:
https://www.ebay.co.uk/itm/155434095843 ... UIC9hKjKZA
Heat is always your friend as the alloy engine cases will heat up faster than the steel bearings.
But you need a blind bearing puller. Basically a slide hammer with a special attachment to get behind the bearing. You can also use this tool on bushes, like the swing arm.
Something like this:
https://www.ebay.co.uk/itm/155434095843 ... UIC9hKjKZA
-
cadno
- Almost there
- Posts: 775
- Joined: Fri May 06, 2016 9:38 am
- What Bike or Bikes Do You Own?: lot's of Yamahas, quite a few Montesas, two BMWs a KTM and a GPZ1100
- Previously Owned Bikes: Far too many to list
- Location: Bangor UK
Re: Dan's not another blue 1VJ
Sorry its been a while, rather busy at work, and not had the garage time.
After discussing pulling blind bearings last time. I heated the cases up with my heat gun and used the blind bearing puller with a slide hammer.
Here we go...
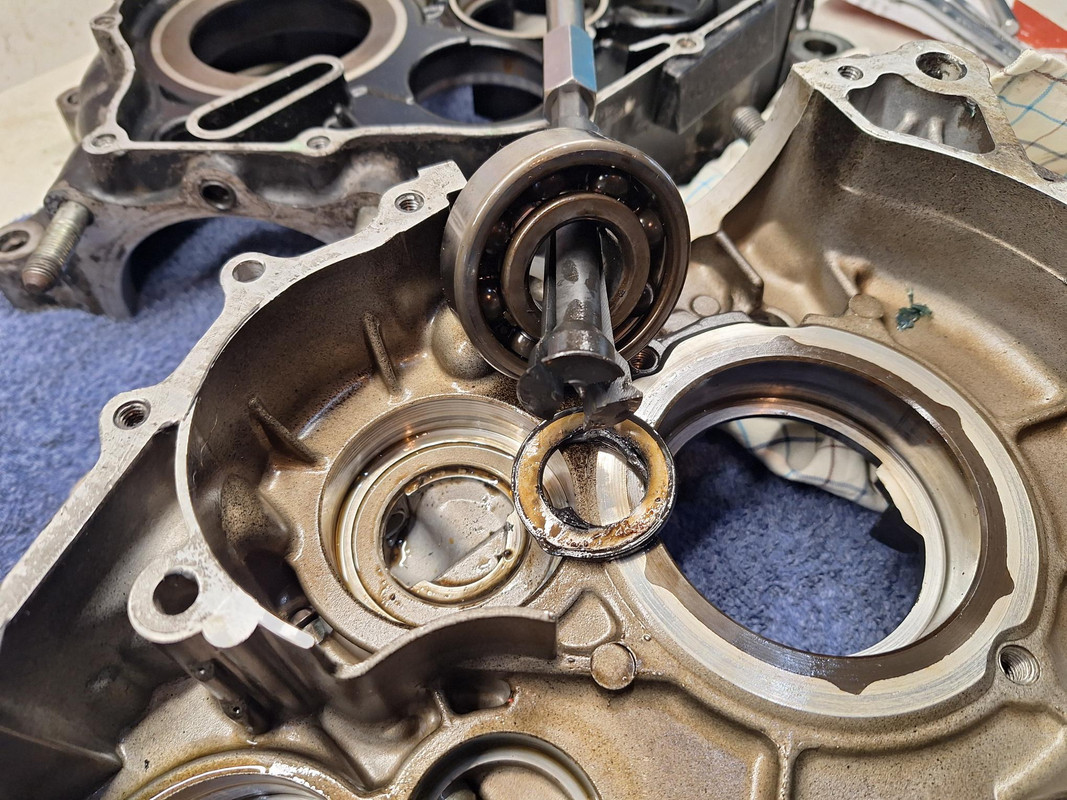
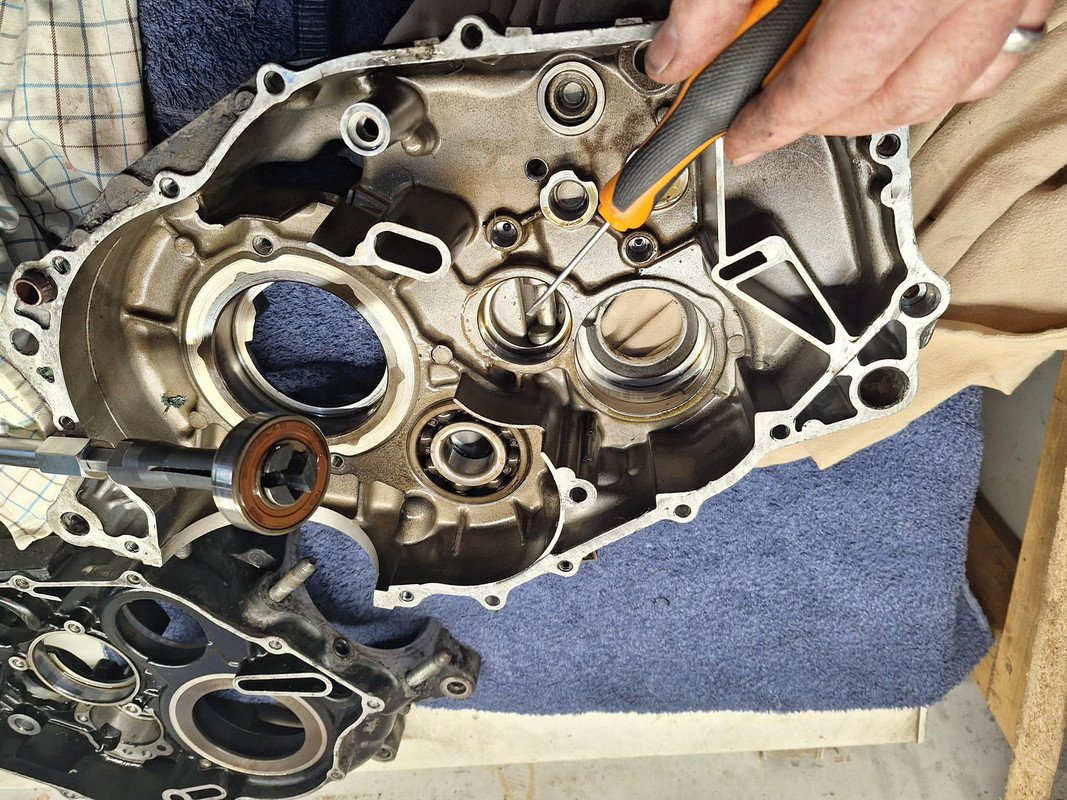
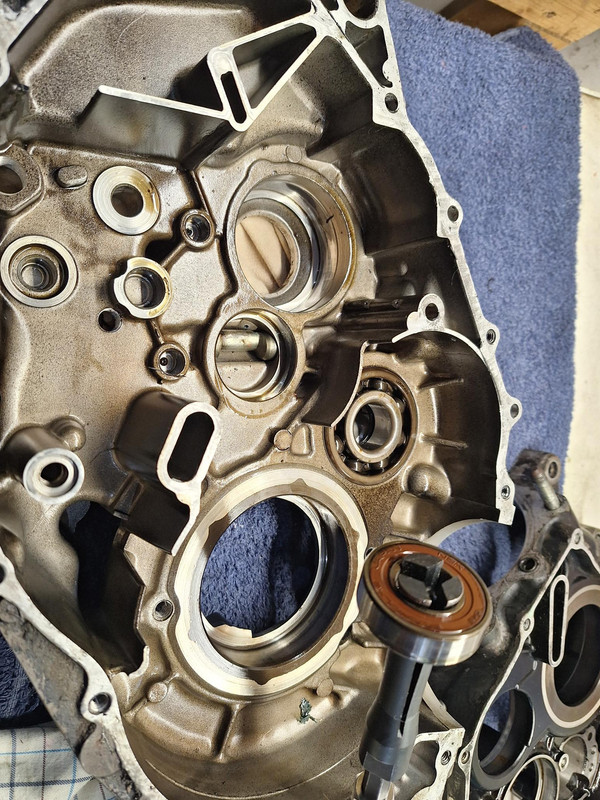
After discussing pulling blind bearings last time. I heated the cases up with my heat gun and used the blind bearing puller with a slide hammer.
Here we go...